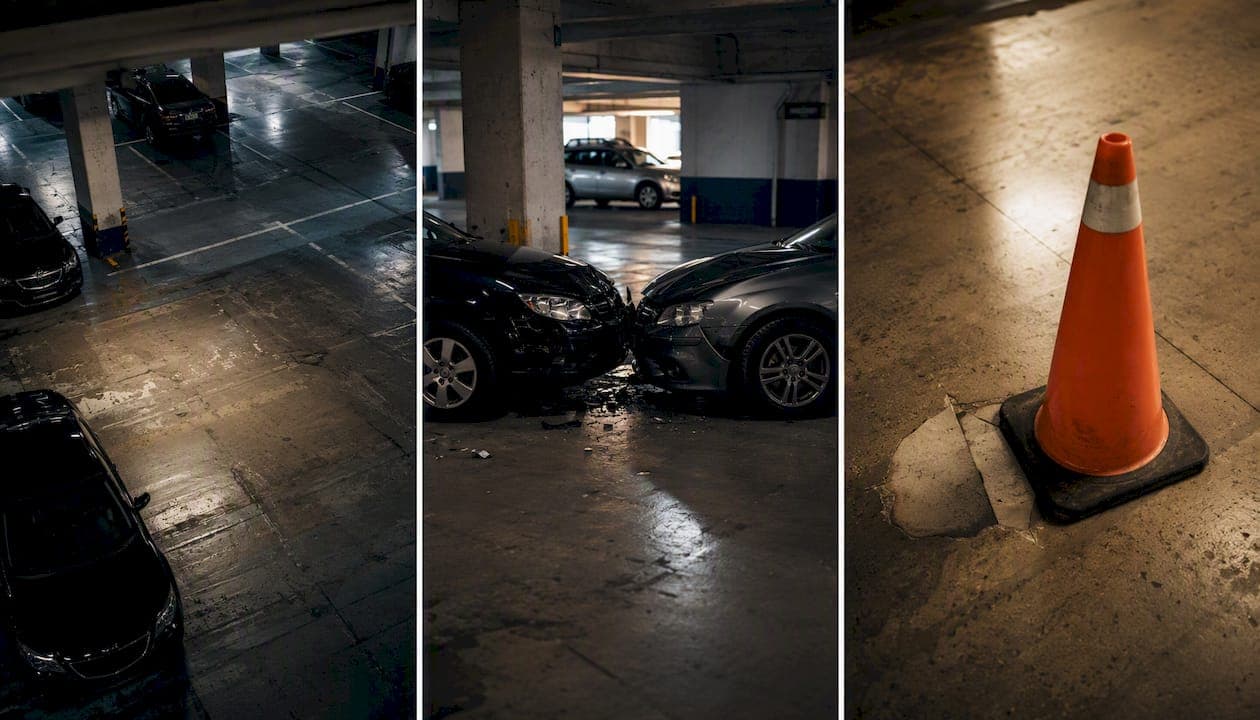
Photographs establish what happened, preserve details that disappear within hours, and build a visual timeline that supports liability, causation, and damages. The role of photographs in injury claims comes down to timing and completeness. Once skid marks fade, vehicles get repaired, and bruises heal, that evidence is gone unless you captured it.
If you're at the scene right now, prioritize this order:
- Safety first. Move to a safe spot before shooting anything.
- Wide shot of the full scene, then a mid-range shot for context, then close-ups of damage and hazards.
- Photograph license plates, visible injuries, and any hazards (spilled fluid, broken glass, missing signage).
- Check your phone's date and time are accurate, then back up the photos the same day.
Pro Tip: Timestamped photos and contemporaneous scene shots carry more weight than anything taken later, because they show what existed before anyone had a chance to clean up, repair, or dispute it.
Key Takeaways
Photographs work as injury-claim evidence when they're timestamped, unedited, taken in a wide-to-close sequence, and backed up before anything gets deleted or altered.
| Point | Details |
|---|---|
| Shoot in sequence | Take wide, mid-range, and close-up shots to establish location, context, and detail. |
| Preserve originals | Keep unedited files with metadata intact; never send only filtered or cropped copies. |
| Document injury progression | Photograph injuries immediately, then at intervals over time during recovery to show progression. |
| Pair photos with other evidence | Match images to witness statements and medical records to reinforce your timeline. |
| Get matched to a lawyer | Legalleads connects injured claimants to a qualified attorney within 24 hours to review photo evidence and next steps. |
Table of Contents
- How to Photograph the Accident Scene
- Documenting Injuries and Medical Progress Over Time
- Are Photographs Admissible in Court?
- How Photos Reinforce Witness Statements
- Common Insurer Tactics and How to Avoid Photo Mistakes
- Device Settings, File Storage, and What to Hand Over
- Get Matched to an Attorney Who Knows How to Use Your Photos
- Sources
- FAQ
How to Photograph the Accident Scene
A useful photo set answers three questions: what happened, where, and how bad was it. Practical guidance from claims professionals recommends building your set in layers rather than snapping random angles.
Start wide. Capture the full intersection, parking lot, or hallway to establish location and orientation. Move to mid-range shots that show the relationship between vehicles, objects, or people involved. Finish with close-ups: the point of impact, a torn stair tread, a wet floor sign that wasn't there.
Environmental details matter more than most people realize. Photograph traffic signals and their state if possible, road signs, skid marks, weather conditions, lighting, and any landmarks that fix the location. A law-firm explainer on photographic evidence notes that hazards like debris or poor lighting often explain causation better than any written description.
Scale changes everything for reconstruction. Place a ruler, tape measure, or a familiar object like a coffee cup next to skid marks or damage before photographing them. Without scale, a six-inch dent and a two-foot dent look identical in a photo.
- Photograph from at least three distances: wide, mid, close.
- Capture every visible hazard, not just the obvious one.
- Include something for scale whenever measurement could matter later.
Pro Tip: Never step into traffic or an unsafe area for a better angle. A slightly worse photo beats a second injury, and no photo is worth compromising your own safety.
Documenting Injuries and Medical Progress Over Time
Injury photos need to do two things: show what the injury looked like and prove it changed over time. A single photo taken weeks later rarely convinces an insurer or a jury. A series does.
- Immediately after the incident — even if the injury looks minor, photograph it before swelling or bruising develops further.
- 24 to 72 hours later — many injuries, especially bruising and swelling, peak in this window.
- Weekly during recovery — continue for as long as your doctor says you're still healing, which could be weeks or months depending on the injury.
Technical details separate persuasive photos from forgettable ones. Shoot in neutral lighting, never with a filter, and always include a scale reference like a coin or ruler next to the injury. Take multiple angles of the same injury in the same session. If the injury limits function, capture that too, whether it's a visible limp, a sling, or a cane.
- Note the date, time, and location on the body for each photo.
- Pair each image with a short treatment note (what the doctor said, medication changed, etc.).
- Name files chronologically, like 20260214_leftknee_day1.jpg, to preserve the order.
Pro Tip: Keep uncropped, unedited originals even if you share cropped versions for privacy. A cropped copy can still be useful, but only the original carries full evidentiary value.
Are Photographs Admissible in Court?
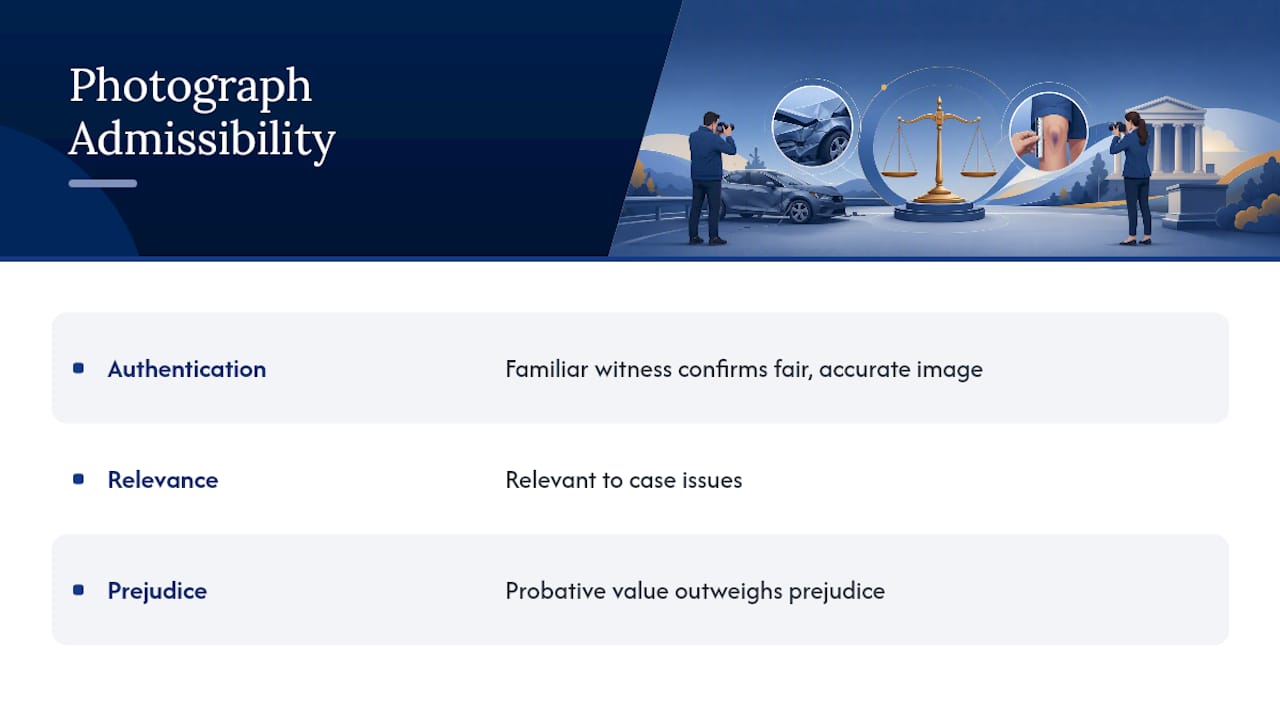
Photographs are admissible when they're authentic, relevant, and not more prejudicial than probative. The Federal Rules of Evidence define what counts as an original or duplicate and set the baseline for authentication. In practice, this means someone familiar with the scene, not necessarily the photographer, can testify that the image is a fair and accurate depiction.
Follow these steps to protect a photo's evidentiary value:
- Keep the original file. Never apply filters, crop, or edit before sharing it with anyone official.
- Preserve metadata, including the timestamp and, where available, GPS data embedded in the file.
- Back up originals to cloud storage and an external drive the same day you take them.
- Log who has handled the files and when, even if that log is just a dated note to yourself.
- Identify anyone who can verify the scene or injury, such as a passenger, bystander, or first responder.
Courts generally favor authenticity and relevance over rejecting photos outright. Attorney guidance on laying a proper foundation confirms that once a photo is properly authenticated, objections based on prejudice rarely succeed in personal injury cases. Academic research on visual evidence also shows jurors retain and understand visual material better than verbal testimony alone, which is exactly why insurers take photo-backed claims more seriously from the start.
How Photos Reinforce Witness Statements
A photo without context is just an image. Paired with a witness account, it becomes evidence that's hard to dispute. Ask any witness for a short note covering three things: the time they observed the scene, what they specifically remember, and where they were standing.
- Use your photos to confirm exact vantage points a witness describes.
- Match photographed hazards, like a broken curb or missing sign, to details in a witness statement.
- Compare photo timestamps against a witness's timeline to catch inconsistencies early.
When accounts conflict, a well-timed photo often resolves the disagreement faster than more testimony can. The role of evidence in building a legal case depends on exactly this kind of cross-confirmation between documents, images, and statements.
Common Insurer Tactics and How to Avoid Photo Mistakes
Adjusters are trained to look for gaps. A photo lacking timestamps, context, or scale invites questions you don't want to answer under pressure. Some adjusters will also argue that damage shown in a photo predates the incident, especially with vehicles that already had minor wear.
- Send originals when an insurer requests them, not screenshots or edited copies.
- Never speculate about fault or injury severity in writing to an adjuster.
- Keep every photo organized by date so your timeline is easy to follow.
- Avoid submitting a flood of near-duplicate images. Ten clear, contextual photos beat fifty blurry ones.
If an insurer claims your photos are inconsistent or insufficient, don't argue the point yourself. Preserve every original file, gather any witness statements you haven't submitted yet, and consult a personal injury lawyer before responding further.
Pro Tip: If an adjuster pushes back on a photo's context, that's often a negotiating tactic, not a real evidentiary problem. A lawyer can usually resolve it in one phone call.
Device Settings, File Storage, and What to Hand Over
Your phone's default camera settings are usually fine, but a few adjustments matter. Shoot in the highest quality your device allows, skip any filter or "beauty" mode, and confirm your date and time settings are accurate before you start. Turn on geotagging if your phone supports it and doing so doesn't compromise your safety.
Back up photos the same day, using a consistent naming convention like YYYYMMDD_location_subject.jpg. Keep a short log noting what each photo shows and where it fits in your timeline. For documenting visible injuries specifically, this injury documentation guidance walks through what attorneys look for when reviewing a file.
| What to Keep | What to Send |
|---|---|
| Original, unedited files with metadata intact | Labeled copies organized by date and subject |
| A log of who accessed or handled each file | Police report and medical records alongside the photo set |
| Backups on at least two separate storage locations | A short written timeline referencing each image |
Pro Tip: Create one dated folder per incident on your phone or cloud account. It sounds simple, but it's the single easiest way to stop your evidence from getting scattered across apps and devices.
Why Attorneys Value Contemporaneous Photographs
A clear, well-organized photo set lets an attorney triage a case fast, spotting liability signals, estimating damage severity, and flagging whether an expert witness might be needed. Photos taken close to the incident, with dates and context intact, cut down on discovery time considerably. That speed often translates directly into a faster case assessment and, eventually, a faster resolution.
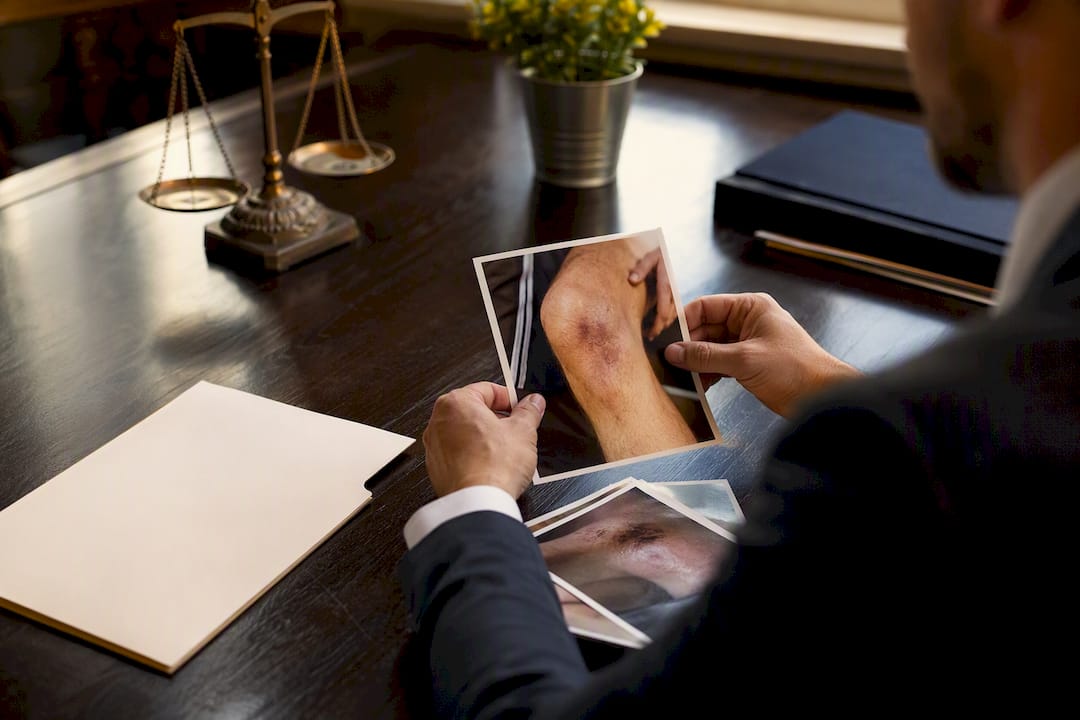
Get Matched to an Attorney Who Knows How to Use Your Photos
Most injured people have never had to think about metadata, chain-of-custody, or authentication before, and that's exactly where a good attorney earns their fee. Legalleads gets you in front of a qualified personal injury attorney within 24 hours, without phone tag or long intake forms. You describe your situation in plain English, and the platform builds a case brief in under two minutes.

You can submit your photos and supporting documents directly through the intake process, and an attorney will review them as part of your case evaluation. Before you delete any originals or make a recorded statement to an insurance company, it's worth getting a professional opinion on what you actually have. If your case involves a vehicle collision, a matched personal injury attorney in Los Angeles or elsewhere in California can tell you within a day whether your evidence is strong enough to negotiate from, or whether you need more. Start your case brief through Legalleads' attorney matching and find out where you stand.
Sources
For admissibility rules, see the Federal Rules of Evidence and attorney foundation guidance. For practical photo tips, see Insurance Curator's claims guide and JJ Legal's scene photography tips.
This article is general information, not a substitute for advice from a qualified lawyer. Consult a qualified legal professional about your own circumstances before acting on anything here.
- PMCID article on visual evidence and memory
- Federal Rules of Evidence — Rule 1001 (definitions and originals)
- Photo Evidence That Wins Claims: What to Shoot, How to Shoot It, and When to Send It – Insurance Curator
- Picture Perfect – How to Lay the Proper Foundation for Photographic Evidence — Levinson Law Group
- The Importance of Photographic Evidence in Personal Injury Cases — Maier Gutierrez & Associates
FAQ
Should I Add Photos to an Insurance Claim?
Yes. Insurers consistently ask for photos showing vehicle damage, property damage, the accident scene, and visible injuries, and a well-documented claim with clear images typically moves through review faster than one without them.
Are Photographs Admissible in Court?
Photographs are admissible when properly authenticated, meaning someone familiar with the scene can confirm the image is a fair and accurate representation, and the photo is relevant without being unduly prejudicial.
What Should I Avoid Telling My Insurance Company?
Avoid speculating about fault, downplaying your injuries, or making definitive statements about what happened before you've spoken with a personal injury lawyer, since these statements can be used against you later.
What Pictures Do Insurance Companies Typically Ask For?
Insurers generally request photos of vehicle or property damage, the broader accident scene, any visible injuries, and supporting context like road conditions or hazards that explain how the incident occurred.
When Should I Talk to a Personal Injury Lawyer About My Photos?
Talk to a lawyer as soon as an insurer questions your evidence or before you make any recorded statement; a service like Legalleads can match you to an attorney within 24 hours to review what you've documented.